Frequently Asked Questions
Version 3 - Reviewed: March 26, 2012
Registering TariffShark Premier Software Client
This article applies to TariffShark releases 1.x, 2.x, and 3.x (TariffShark Premier client versions 1.x and earlier).
Click here if you are running TariffShark releases 4.x or later (TariffShark Hammerhead client versions 2.x or later).
-
Double-click the TariffShark icon on the desktop to bring up the login screen.
-
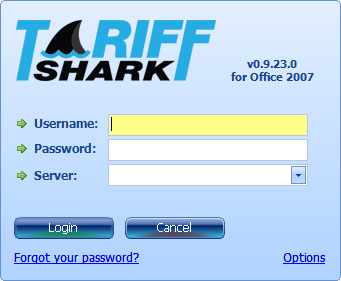
At the login screen (shown below), click the "Options" link in order to register your software client with a TariffShark server. This is a security measure.
-
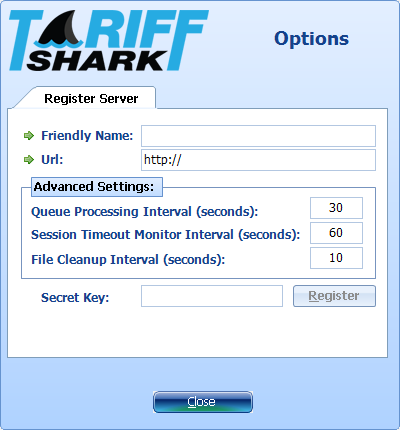
The Options dialog is displayed.
-
On the Register Server tab enter Friendly Name, Url and Secret Key as provided by your TariffShark project manager.
- The "Friendly Name" is any name you wish to use to for the server to which you are registering. This name must be unique among all clients registered with the server. We recommend using a name that includes both your name and the server name. For example, "Johnny@MyServer".
- The "Url" is essentially the Internet address of the server to which you are registering. It usually begins with "http://" or "https://" and ends with "/Services/".
- The "Secret Key" is a password of sorts that protects your TariffShark server from accepting random client registration requests.
-
Click the "Register" button.
-
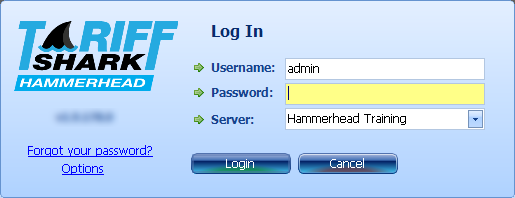
Click the "Close" button to close the Options dialog. The login dialog is displayed once again.
-
In the login dialog enter your Username, Password, and select the server to which you wish to connect from the Server drop down.
-
Click the "Login" button.
TariffShark logs you in, and the TariffShark screen is displayed.
Support
Contact
Business Hours
About
TariffShark is a full life-cycle e-tariff management software solution that generates FERC-defined XML in an on-premise or hosted environment.
Effective April 1, 2010, The Federal Energy Regulatory Commission (FERC) revised its regulations to require that all tariffs and tariff revisions and rate change applications for the public utilities, natural gas pipelines, oil pipelines and power administrations be filed electronically according to a set of standards developed in conjunction with the North American Energy Standards Board (NAESB).
The Commission requires that all tariffs, tariff revisions and rate change applications be filed electronically in the manner prescribed by Order No. 714. The affected required filers are:
- Public utilities and Power Marketing Administrations under Parts 35 and 300;
- Natural gas pipelines under Parts 154 and 284;
- Intrastate gas pipelines under Part 284; and
- Oil pipelines under Part 341.
Contact Us
Suite 220
Schaumburg, IL 60173
Sales: (847) 252-7286
Support: (847) 252-1611
Fax: (847) 252-7282
Email: [email protected] Schedule a Demo
Monthly Newsletter
Subscribe to our newsletter and stay up to date with the latest news and deals!
Stay Connected
2026 © Links Technology Solutions, Inc. All Rights Reserved.